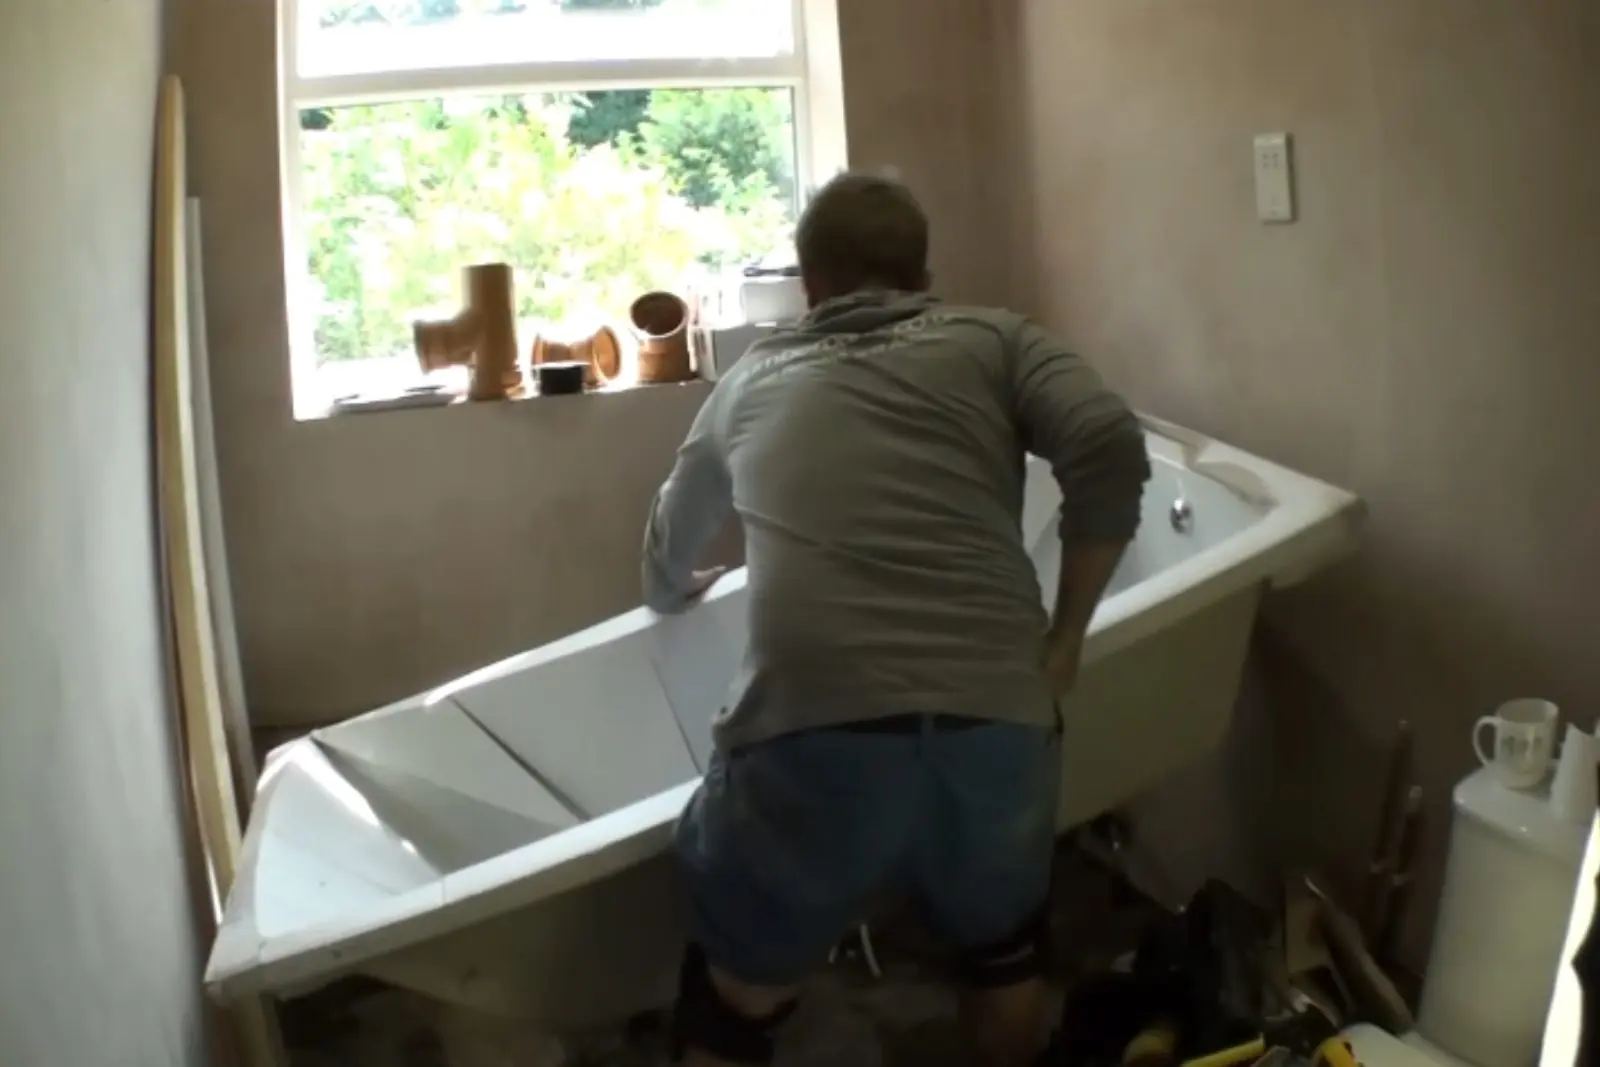
Know what kind of base you have
There are two common types. A prefabricated base is a one-piece acrylic or fiberglass pan that sits on a mortar bed or directly on the subfloor, with a drain opening already formed. A site-built base is a tiled floor over a waterproof liner, sloped to a drain by the installer. The plumbing underneath is similar, but the way the drain connects to the pan is different.
Prefabricated bases are faster and have fewer leak points, which is why they are common in remodels. Site-built bases suit custom sizes but rely on a perfect liner. Decide which you want before the plumbing starts, because the drain height and the floor opening depend on the base.
The plumbing steps in order
Confirm the drain location
Mark the center of the drain on the subfloor from the base's documentation. The drain must land within the opening of the pan.
Set the trap and the drain pipe
A shower drain needs a trap, usually a P-trap, connected to a 2 inch drain line. The trap holds water that blocks sewer gas.
Connect the vent
The trap needs a vent to drain freely. The vent often ties into an existing vent in the wall.
Pressure test or water test the drain
Fill the line with water or air to check every joint before anything is covered.
Install the shower valve and supply lines
The valve is set at the right depth for the finished wall. Hot and cold lines connect to the valve body.
Set the base
Follow the manufacturer's instructions for the mortar bed or the subfloor support, and connect the base drain to the trap.
Flood test
Plug the drain and fill the base with water for several hours. Mark the water level and check for a drop.
Rough inspection, then close up
Do not cover any plumbing until the city inspector has seen it.
Why the trap and vent matter more than the base
Many shower leaks and slow drains start under the floor, not in the pan. A trap set too low, a trap without a vent or a drain line without slope will drain slowly and gurgle. Shower drains are usually 2 inches, and the line must slope toward the main drain at about a quarter inch per foot.
A properly vented trap drains with a smooth swirl. An unvented trap can lock with air and pull the water out of the trap, which lets sewer gas up. If your remodel adds a shower where none existed, new vent routing may be needed. This is one reason a plumbing permit and a rough inspection exist.
Common mistakes that lead to leaks
- Skipping the flood testA pan can look watertight and still leak at the drain connection. A flood test shows it.
- Wrong liner folds on a site-built panA liner folded at the drain flange can trap water in the wrong place.
- Trap too far from the drainLong distances between the drain and the trap slow the flow and collect scum.
- No access panelWithout an access panel behind the valve, a repair means breaking the wall. See plumbing installation.
- Valve set at the wrong depthThe valve trim does not seat against the tile.
- Covering work before inspectionThe inspector may require you to open the wall again.
Want a plumber to handle it?
Call and a person answers, any hour. You hear the price before any work starts.
Permits in Milpitas for a new shower
The City of Milpitas says installing or replacing plumbing fixtures and piping in a building requires a plumbing permit, and that extensive removal of wall or ceiling structure also requires a building permit. A remodel that moves a shower, adds a drain or changes the vent falls into that.
The city's handout expects a rough inspection before walls or ceilings are covered and a final inspection when the work is done.
Water piping to the shower valve must hold pressure for at least 15 minutes in the city's test, and drain and vent lines are also inspected. Milpitas homes from the 1950s and 1960s often have a slab or a raised foundation with limited access from below. A new shower in a slab house may need the slab opened to reach the drain, which adds a repair step.
If your house is in North San Jose rather than Milpitas, the City of San Jose runs its own permits, and our San Jose service page has the details.
Source type: City of Milpitas Office of Building Safety plumbing permit handout.
What to prepare before the plumber arrives
| Item | Why it matters |
|---|---|
| Base model and drain position | Sets the drain center and the opening size. |
| Valve and trim model | Sets the rough-in depth. |
| Wall framing open | Allows supply, drain and vent routing. |
| Floor access (crawlspace or slab) | Decides whether the slab must be cut. |
| Permit and inspection schedule | Walls stay open until inspection. |
| Waterproofing plan | Pan liner, backer board and sealant. |
When to hire a plumber instead of doing it yourself
Some parts are within reach of a careful homeowner, such as setting a prefabricated base on a mortar bed or installing trim. The drain, trap and vent are different, because mistakes hide under the floor and surface later as stains or smells. If you are moving a drain, tying into an existing vent or cutting a slab, a plumber is the safer choice.
We rough in the plumbing, test it, schedule the inspection and leave the walls open until the inspector signs off. If the new shower is part of a bigger remodel, we can also check the old pipe and suggest a repipe while the walls are open.
Sources
Trap, vent and slope requirements follow the California Plumbing Code, which is based on the Uniform Plumbing Code (UPC). Permit steps come from the City of Milpitas Office of Building Safety.
Common Questions
Replacing a shower base alone may not need new plumbing, but moving the drain or changing the vent does. Ask the city or us before you start.
Residential shower drains are usually 2 inches. The local code decides the minimum.
The trap may be unvented, the line may lack slope or hair may have collected. A camera check finds it. See drain cleaning.
Several hours is typical. Mark the water level and confirm it does not drop.
Yes, but the slab may need to be cut to reach the drain. That adds work and a patch.